Ingredients
For the Crust:
For the Filling:
- 4 cups (560 grams) blueberries, (don’t thaw if frozen)
- 2 cups (280 grams) wild blueberries, (don’t thaw if frozen)
- 3/4 cup (150 grams) granulated sugar
- 5 tablespoons (40 grams) cornstarch
- 1 teaspoon fresh lemon zest (don't omit)
- 1 tablespoon fresh lemon juice (don't omit)
- 1/4 teaspoon ground cinnamon
- 1/8 teaspoon ground nutmeg
- 1/4 teaspoon fine salt
- 1 tablespoon unsalted butter, diced
For the Egg Wash:
- 1 large egg yolk
- 1 tablespoon heavy cream or whole milk
- Turbinado or coarse sugar, for sprinkling
Directions
Prepare the dough:
-
Remove one disk of pie dough from the fridge. If needed, let sit at room temperature for up to 5 minutes or until slightly pliable.
-
Roll the dough out on a floured work surface. Keep turning the dough after every roll to ensure it doesn’t stick to the counter and is of even thickness. Add additional flour to the dough, the counter, and your rolling pin as needed. Roll out into about a 12-inch circle with a 1/8-inch thickness.
-
Gently roll the dough up and around the rolling pin then unroll and drape over a 9-inch deep dish pie pan, preferably tempered glass. Gently mold into the cavity of the pie pan. Do not stretch the dough to fit or it will shrink during baking. Trim the dough edges to sit flush with the pie pan edge. Cover and place in the fridge.
-
Remove the other piece of dough from the fridge and repeat the above, but rolling out to a 13-inch circle. Using a pastry wheel, cut 1-inch wide strips. You will need 10 strips. Place the strips on a sheet tray or cutting board and refrigerate until ready to assemble.
Make the filling:
-
In a large bowl, toss together all of the blueberries with the sugar, cornstarch, lemon zest, lemon juice, cinnamon, nutmeg, and salt.
Assemble the pie:
-
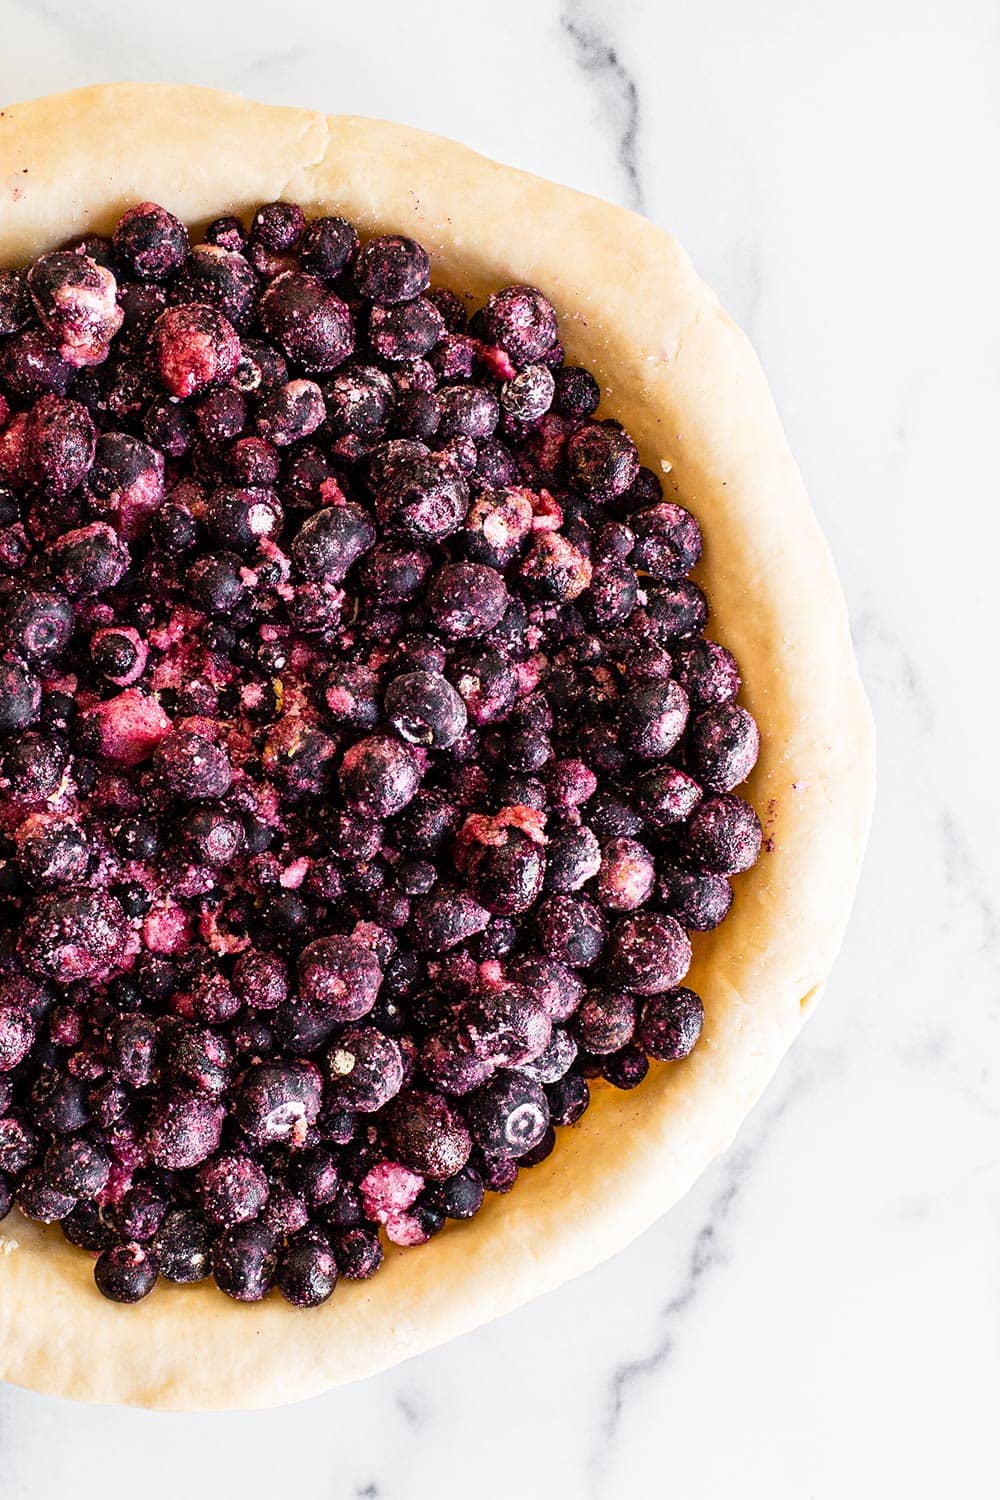
Pour the blueberry mixture into the refrigerated pie shell, flattening and adjusting to make it fit evenly. Dot with the pieces of butter. Brush the edges of the chilled pie shell lightly with water.
-
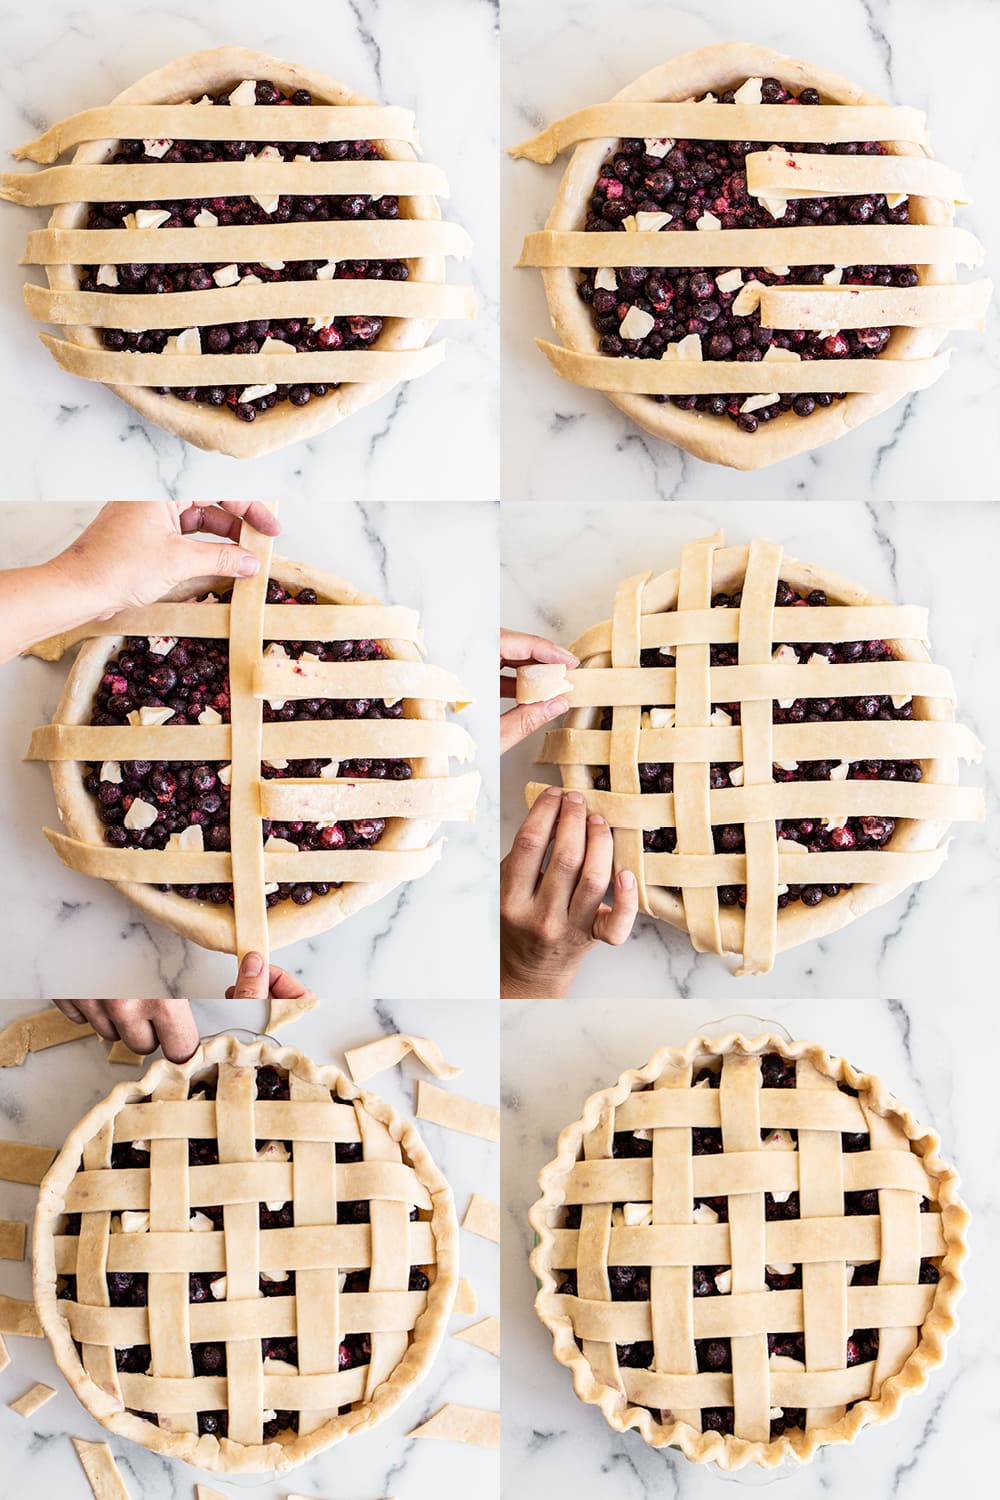
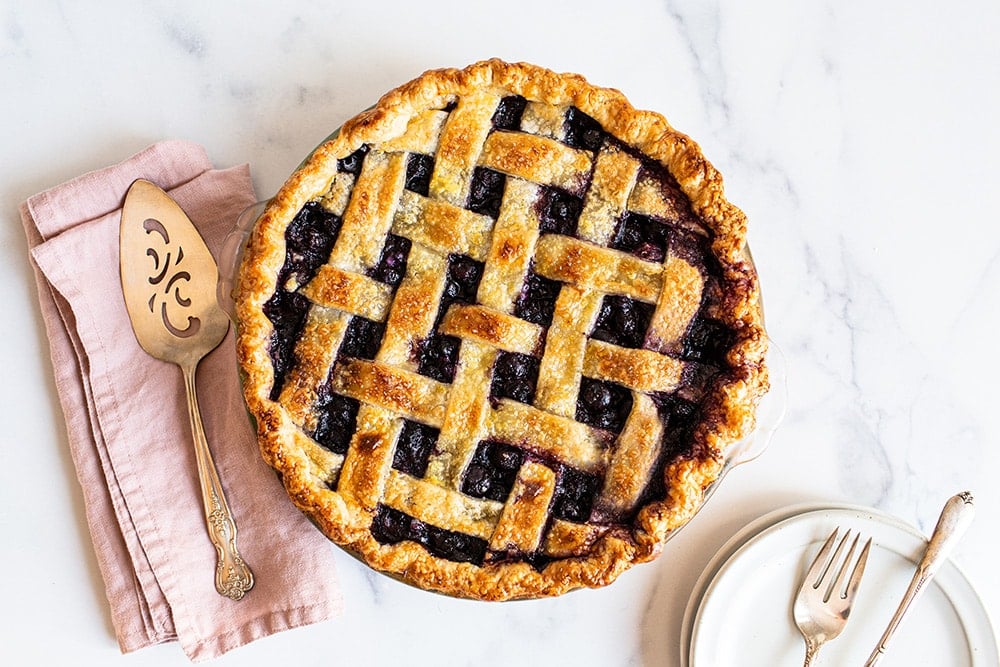
Place 5 to 6 strips of pie dough over the filling, spacing evenly. Fold back every other strip in half. Place a long strip of dough down the center in the opposite direction. Unfold the other strips then fold back up the opposite strips. Place another strip down going the opposite direction. Repeat this weaving process until you have a lattice shape. Trim the lattice pieces so they’re just less than flush with the bottom crust so the edges won’t be too thick they slump over while baking.
-
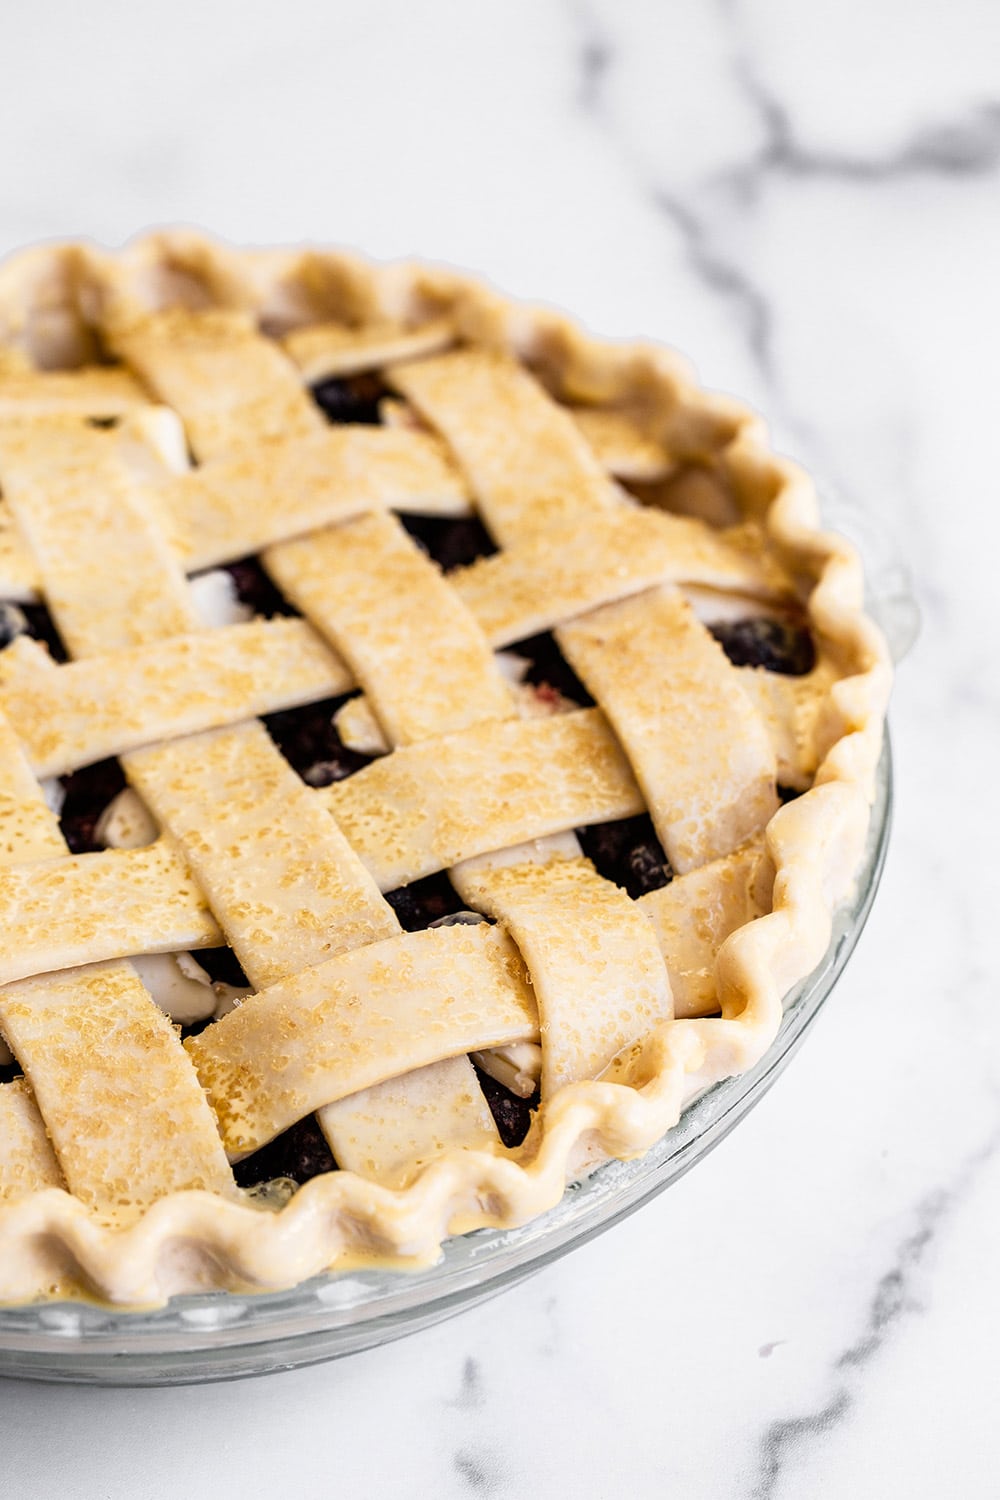
Tuck the edges up and over to create a border, sealing everything together by pressing with your fingers. Use your fingers to make a deep crimping pattern. Transfer to the freezer for 15 to 30 minutes (must use a freezer-to-oven safe pie pan). This prevents the pie dough from becoming soggy or misshapen.
-
Meanwhile, adjust the oven rack to the lower third position. If you have one, place a baking stone or steel on the oven rack to help the bottom crust remain crispy. Preheat the oven to 400°F.
-
In a small bowl, whisk together the egg yolk and cream. Remove pie from freezer. Brush all over with egg wash. Sprinkle generously with turbinado sugar. Bake on a parchment lined rimmed baking pan until the edges are lightly brown, about 25 minutes.
-
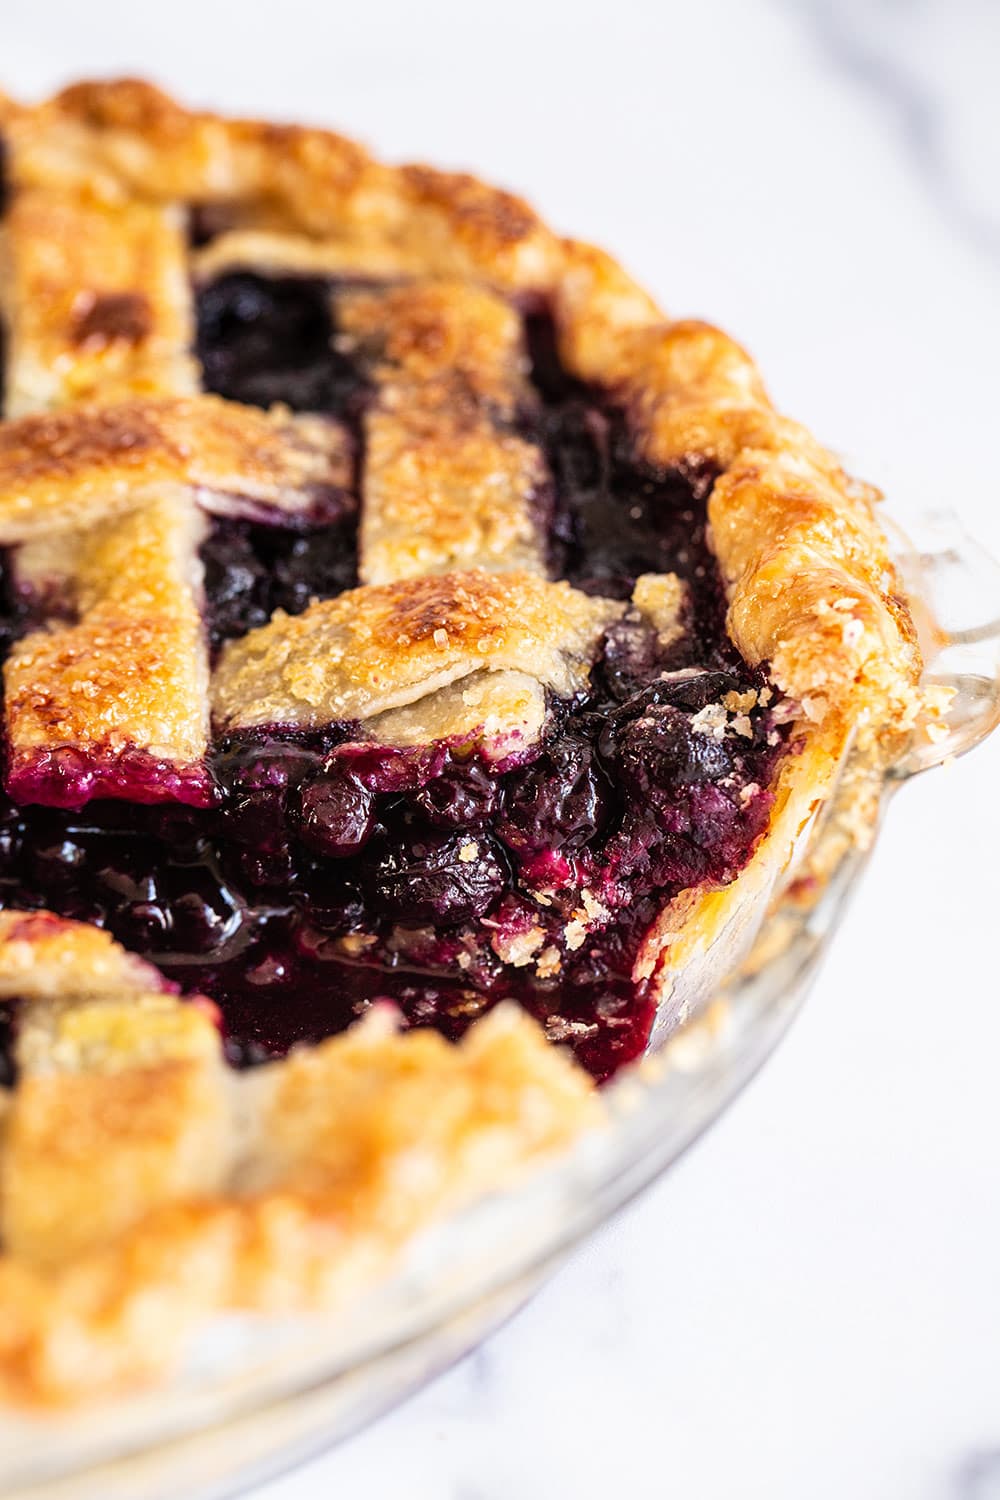
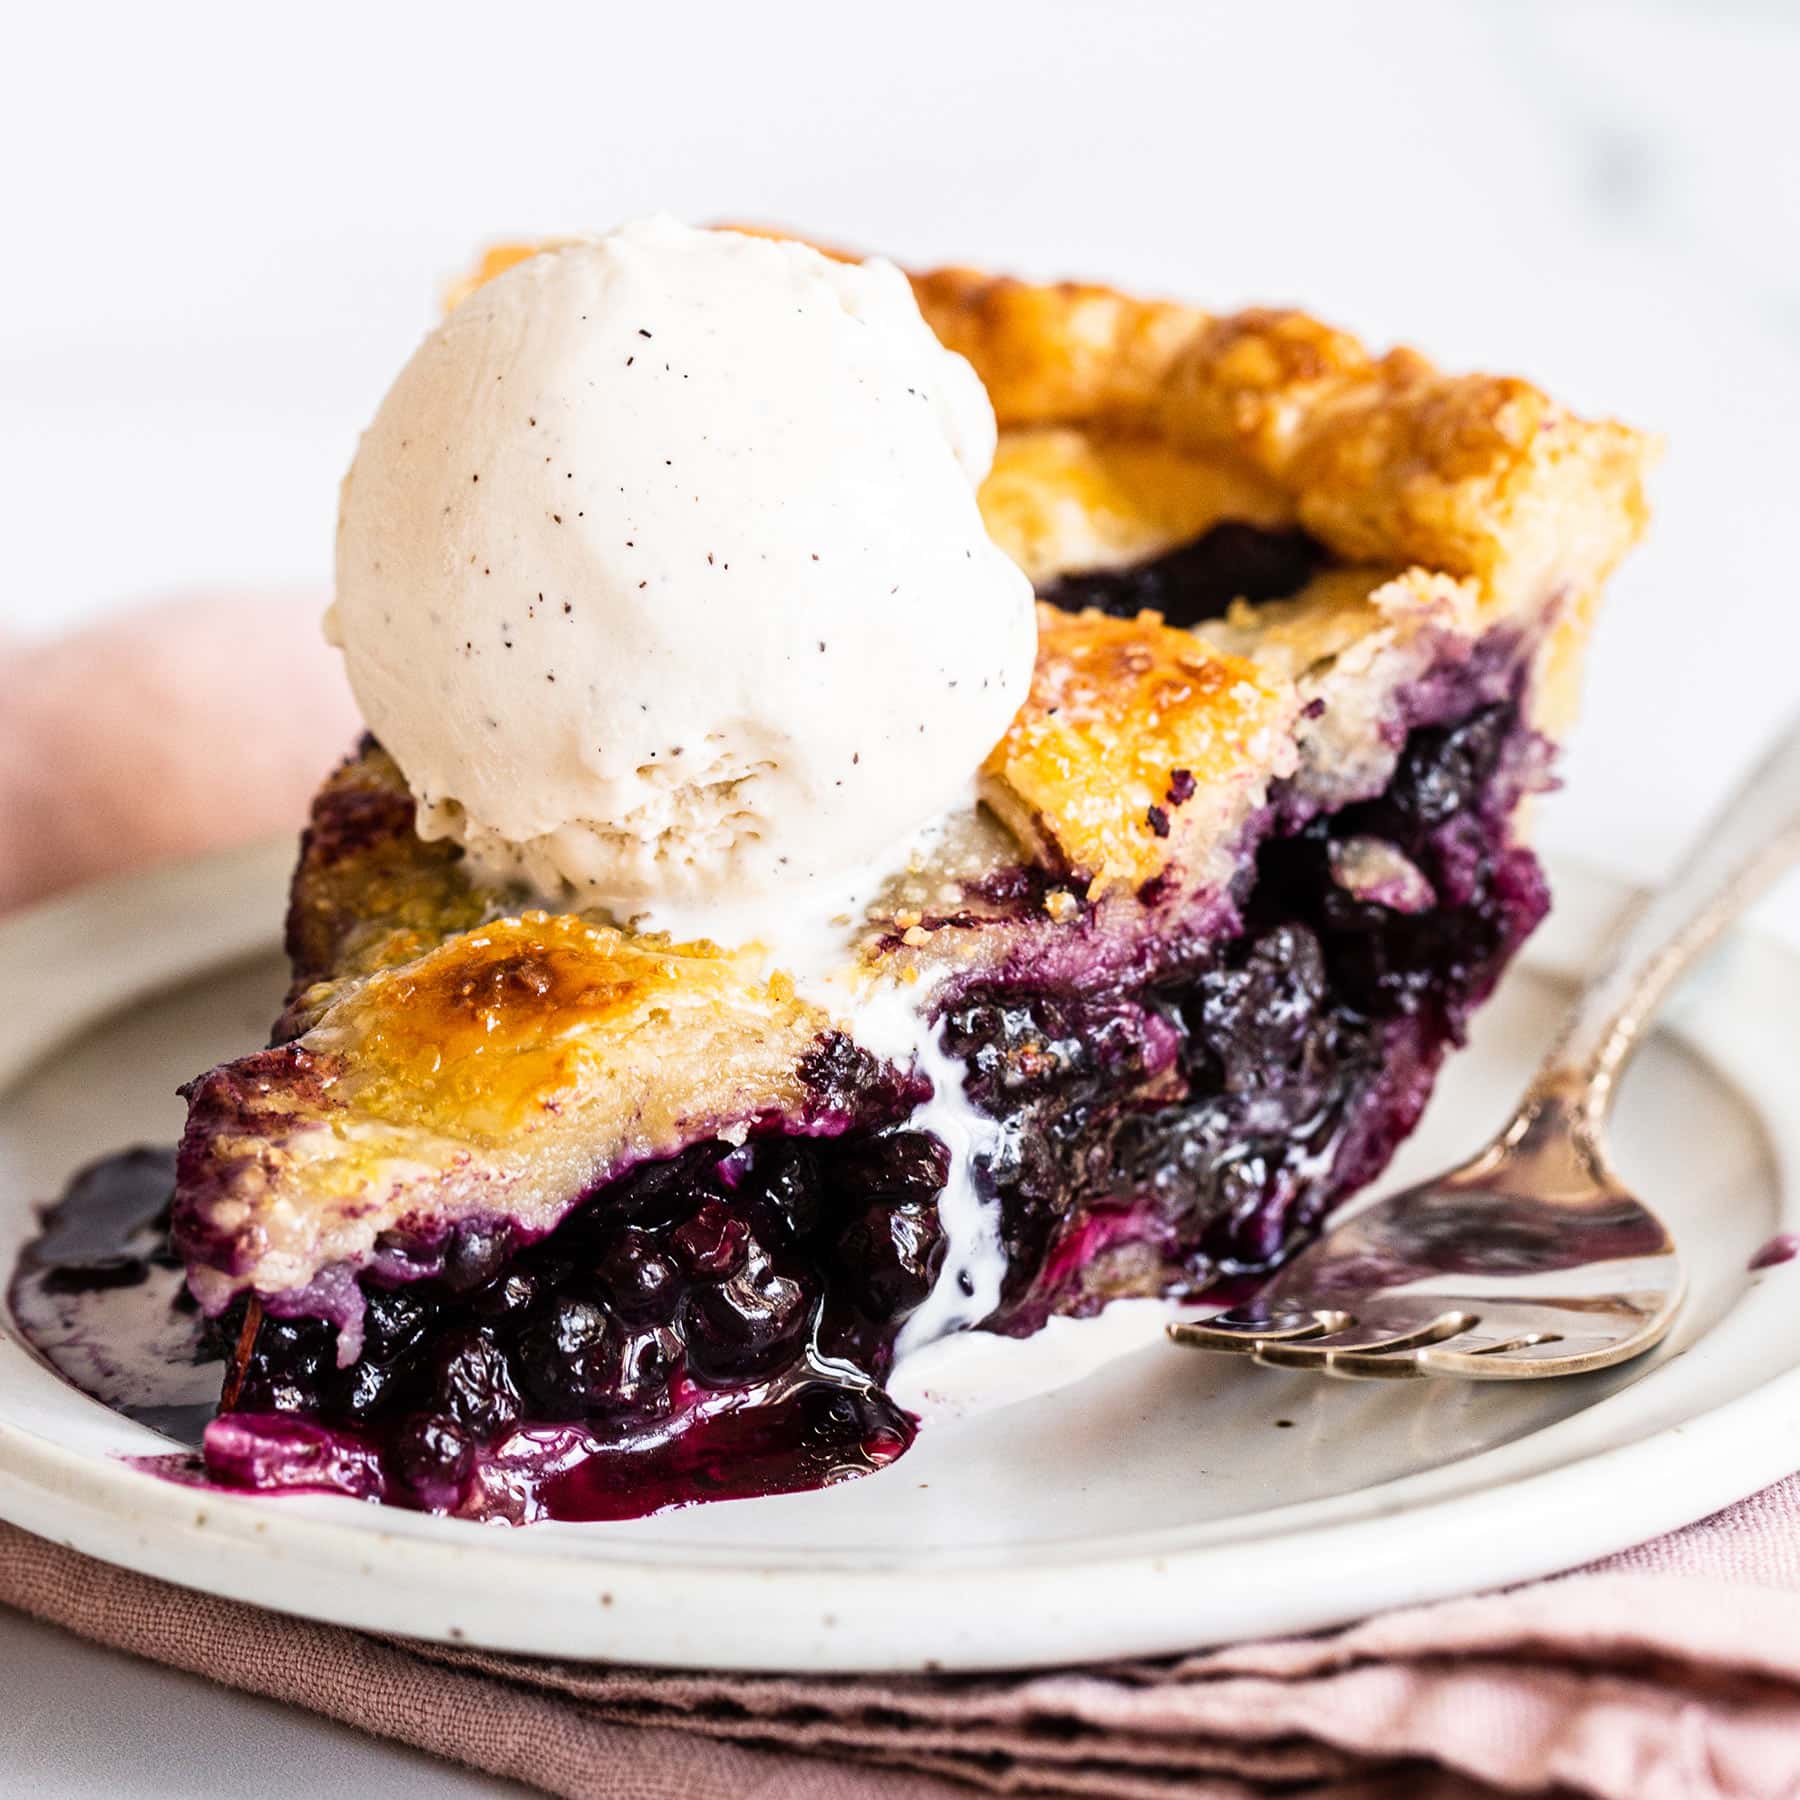
Reduce heat to 375°F and continue baking for another 45 to 55 minutes, or until the edges are deeply brown and the filling is bubbling in the center. If the edges become too dark, use a pie shield or foil to protect them from the heat. An underbaked pie will be runny when sliced.
-
Cool completely, for at least 3 hours, before serving. Store leftovers wrapped in foil for up to 2 days at room temperature. Reheat in a 350°F oven for 5 to 10 minutes to re-crisp the crust.



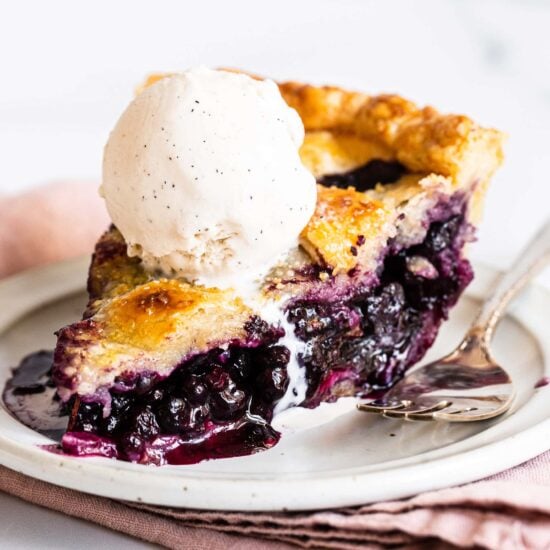












Instructions say to heat a baking stone in the oven. Then instructions say to bake pie on a parchment lined rimmed baking sheet. Do I bake the pie directly on the stone or place the rimmed baking sheet on the stone? Thanks!
Hi Linda! This is just a suggestion that Tessa has found to ensure a really crisp crust on your pie! As she states in the pink tip box above the recipe, “preheat a baking stone on the bottom third of your oven, and bake the pie on a sheet pan (to collect any leakage) on the hot baking stone.” I hope that helps! Let us know if you have any further questions! 🙂
Thanks for your reply Kiersten. I saw the pink tip box after I posted my question. Pie turned out Fantastic. The lattice top was Gorgeous and the pie tasted wonderful. Love you guys at Handle the Heat. All the recipes I’ve tried turn out amazing. You are my “go to” for baking recipes. Thank You!
Yay! So glad to hear that, Linda!! I’m so glad you enjoy Tessa’s recipes! Being a “go-to” recipe site always makes our whole day!! 🙂 Happy baking!
Results are picture perfect! (On the instagram hashtag)
One “oops” though – I realized as I was cleaning up I had only put in 4 cups of blueberries! But as the pie came out of the oven, I wondered where those other 2 cups would have gone. The filling was bursting through the lattice crust as it was. My glass, freezer-to-oven pie plate is only about an inch deep though.
We’ll see how the taste test goes when the pie is served tomorrow!
Hi Michael! We saw your pie on Instagram – it looks gorgeous!! So happy you enjoyed baking it!! As for your leftover blueberries, it may just be a case of a different pie pan. Tessa’s favorite Oxo pie dish is pretty deep. It also depends on how you fill the pan! I’m often shocked when filling pies, personally, how much filling I can really get in the pan if you press down and really compact the filling as you go. I’m sure your pie will be delicious!! 🙂
And it was perfect! Taste and texture.
Fantastic!! Thank you so much for letting us know!! 🙂
That was way too many berries for my largest glass dish.It ran.over onto the steel pan underneath (thank goodness). But the pie looked and tasted wonderful.
I will make it again
Hi Sharon! So happy to hear you enjoyed this blueberry pie! Tessa recommends a deep 9″ pie dish for this recipe (details in the pink box above the recipe). I’m glad it didn’t make a mess in your oven, though!!
Hey, Sharon – When I made this today, I accidentally left out the 2 cups of “wild” berries (which would have been regular berries anyway), and wondered where they would have gone had I used them! But the pie looked gorgeous, and I’m sure it’s going to taste terrific tomorrow. I’m glad yours did too!
I have a frozen pie shell (homemade) in my freezer that I made several weeks ago. How do I assemble the pie from a frozen state shell? Your recipe looks so good. I want to make tomorrow. Thank you! Amy
Hi Amy! Is your homemade pie shell already formed to a pie pan? If so, go ahead and place in the fridge overnight to thaw, then proceed with the recipe as written. Feel free to follow the instructions creating a lattice top with a second pie dough, or however you wish the top of your pie to look. You can bake-from-frozen a fully assembled unbaked pie, but I’d worry about your pie getting a soggy bottom if only your bottom crust is frozen and the rest of the pie is not. If you still need to roll out your frozen dough, you’ll still need to thaw the dough in the fridge overnight so you’ll be able to roll the dough out, then follow the instructions as written. I hope that helps! Please let me know if you have any other questions. Let me know how it goes!
This is a classic example of why I HATE making pie. My Mom used to use tapioca in her fruit pies, but it is something that gags me, so I never have it on hand. I use flour in my apple pie, but have never had luck with a berry pie and flour. This was significantly worse than the flour berry pie. The liquid migrated out of the pie all over the top of the crust. The crust was perfectly brown on the top and through the sides of the pie, but the inside of the crust was gloppy dough. It was like eating sour, gloppy, blueberry soup. Revolting in every way.
Oh no! So sorry to hear you experienced issues with this recipe! Did you use fresh or frozen blueberries? Did you use a freezer-to-oven safe pie pan so that you could freeze your pie prior to baking? Tessa includes a few tips in the pink tip box above this recipe to help ensure that your pie is fully baked with a thickened filling. I truly hope you give this recipe another try, it’s my all-time favorite pie. Please let me know if I can help troubleshoot further!
Can I use store bought pie crust?
While we highly recommend using our Best Ever Pie Crust recipe for the best flavor and flaky crust, you’re more than welcome to use store bought 🙂
I made this as a Blind Baker date challenge, my partner was blind fold and I had to direct him the method for baking pie is so on point that it turn out amazing even with blind challenge! I’d give this recipe more then five stars if I could ☺️ epic recipe by Handel the heat, as always. ❤️
Oh my gosh, that’s amazing!! What a fun date challenge, so happy you enjoyed this recipe 🙂
I have a question, in the recipe where it’s time to assemble the pie,, what do you mean by “Dot with the pieces of butter”
Thank you!!
Hi Paiten! That just means to place the little diced pieces of butter evenly around the filling. The butter will kind of look like little dots 🙂 I hope that helps! Please let us know what you think of this recipe, it’s definitely one of my favorites 🙂
Following a tip from Tessa’s empanada recipe, I froze my butter and used the zesting grater to “dot” this pie filling! It was kinda messy, but not as much as trying to dice warmer butter.
I made this for Thanksgiving yesterday as fruit pies are my husbands favorite and he requested blueberry this year. I have always been scared of fruit pies because they have always been liquidy. However, your detailed instructions on the internal temperature needing to be 203 degrees to activate the cornstarch was very helpful. I ended up having to bake the pie an extra 20 minutes to reach the proper temperature in the middle of the pie (instant read thermometer)! Also your crust recipe is amazing! The first slice came out and the whole filling stayed where it was supposed to but was very moist still. Thank you for all of the attention to detail in your recipes.
So happy you went along with the internal temp, we like to include that as all ovens are different and timing can vary (which you proved)! Thrilled you enjoyed this recipe, it’s a favorite of mine as well!
Really? This seems like a crucial instruction that also needs to be in the Directions. It’s too easy to miss a detail like this, especially if you’re working from the ‘print’ version of the recipe. I hope my pie hit that magic temp, as it’s too late to measure.
Hi Michael! As long as you followed Tessa’s sensory indicators mentioned in the recipe (bake until the edges are deeply brown and the filling is bubbling in the center), you should be just fine! 🙂
Thanks for guiding me to find the answer to my question! This is the most amazing pie!!!! I can’t believe I made this haha looks so professional!! Anyone reading these comments look no further for another recipe just make this pie and try your best to find the wild blueberries it truly makes this the most amazing pie ever!! I spent a lot of summers in Maine growing up and this brought me right back to those memories.
So happy to hear that, Rossi! Glad this pie brought back wonderful memories, thanks so much for sharing!
Could I freeze the pie for longer then 15-30min before baking? Say like 24 hours?
Hi Rossi! Yup! Check out the directions in the pink tip box above the recipe for freezing an unbaked fruit pie. Let us know what you think of this recipe!
Also for the crust I would mix chilled cut up butter ( 1/4″) pieces and lard, in equal amounts. Crisco is no good for crusts, because they lessoned the amount of hydrogenated fat and switched it soybean or soy oil….It isn’t made the same as it used to be….
I would also add a bit of ground cardamom, it goes well in baked items ( fillings) in other pies, it gives the pie a bit of a kick and spice…
Just a suggestion…
Thanks for your feedback, Randy!
Can you give recipe for the dough?
Check out the pink tip box above this recipe, it’s the first question asked and I included a link 🙂
This recipe is phenomenal. So much so that I actually made it twice already! I know this sounds crazy, but my husband doesn’t even LIKE blueberries (he still tries everything I make)…and he went back for seconds!! He said he loved the addition of the lemon juice/zest and said it just had a flavor he’s never had in blueberry pie before. My mom especially loved the addition of nutmeg, which isn’t usually found in blueberry pies. SO delicious!
And that CRUST is fantastic. Nice and flaky and just absolutely divine. I like to bake the remnants with cinnamon and sugar and eat that as a snack throughout the week 🙂 This has definitely become my go-to blueberry pie recipe!
I LOVED this pie! Everything about it, it looked pretty, the crust turned out perfectly flaky, blueberry filling (I only used wild frozen ones) was delicious and held together beautifully, not soupy at all! My husband was highly impressed! I’ll be happily snacking on leftovers all week! Thank you for this recipe!
Hooray! I’m so happy to hear you both loved this recipe so much! I LOVE to eat pie leftovers for breakfast, yum! 🙂
Hi Tessa – Could you please tell me why you decided to use cornstarch versus tapioca starch in your blueberry pie? Should I be able to make that substitution in this recipe?
Really enjoy so many of your recipes – thank you!
I used cornstarch due to the fact that it is such a common ingredient found in households. Also, different tapioca starch products are made differently depending on their country of origin. I’d personally recommend making this recipe as is for best results 🙂 Let me know what you think!
Amazing ! Perfect ratio of blueberry to crust, perfectly sweet and juicy and the crust is so flaky! Thank you for the recipe, a Father’s day’s MUST
Wonderful! I’m so thrilled to hear you enjoyed this pie and that you also tested a brand new recipe for the holidays! 🙂