This post may contain affiliate links. Read our disclosure policy.
There’s nothing better than a little festive cookie to put everyone in the mood for a holiday.
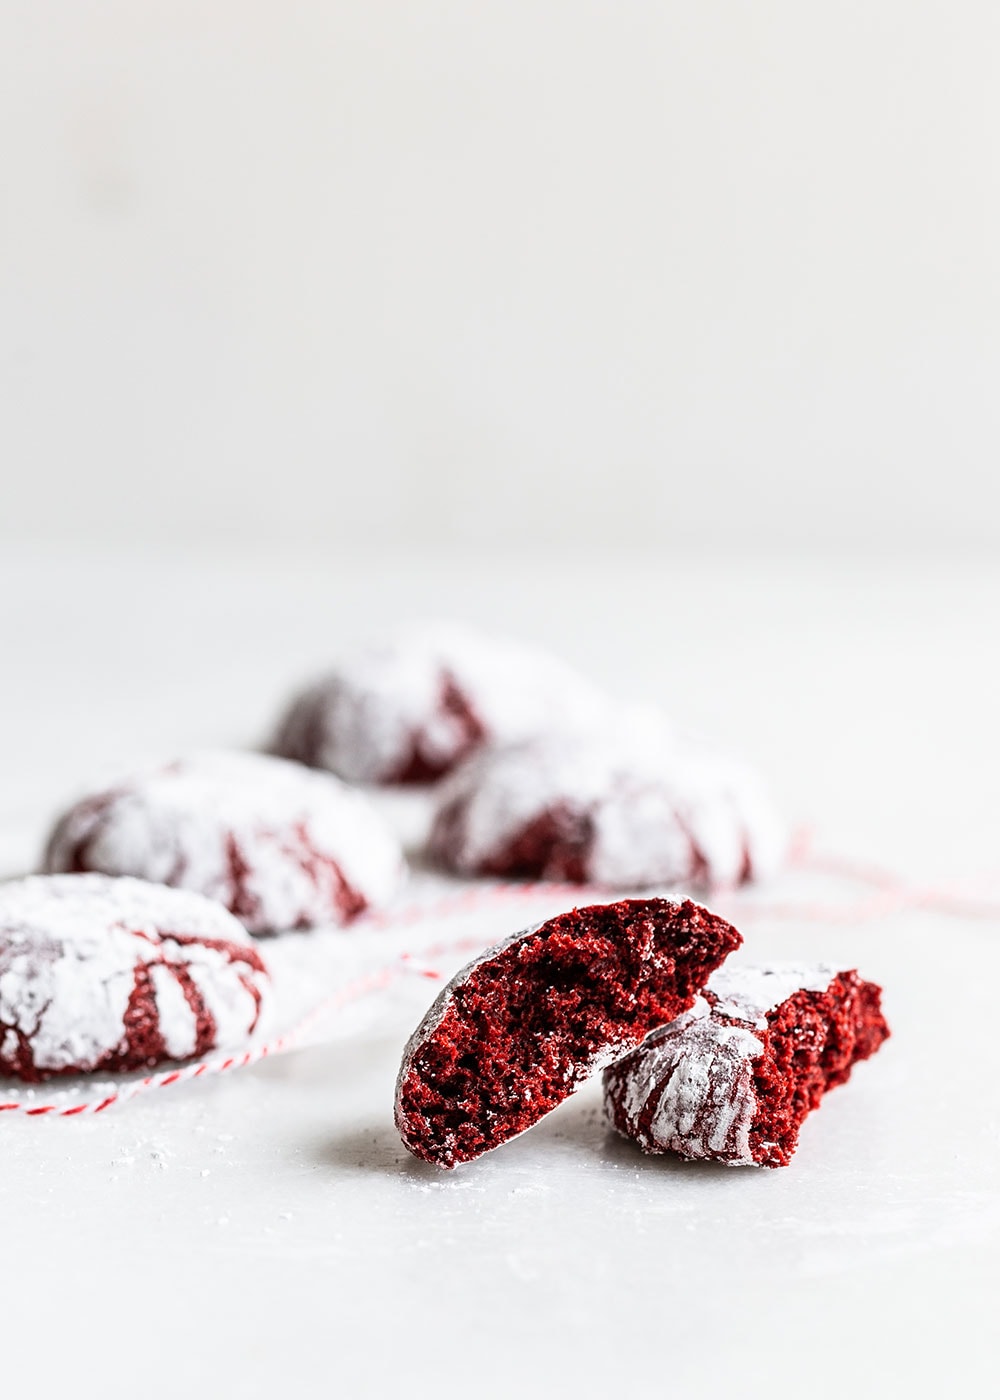
These Red Velvet Crinkle Cookies will definitely make you everyone’s favorite person at the office or at school.
That is until everyone realizes they have powdered sugar all over their mouth / face / clothes.
This recipe is perfect for either Valentine’s Day, Christmas, or just when you’re craving Red Velvet.
Which really only has a hint of cocoa flavor but is full of nostalgia for those of us who grew up with it living in the U.S.
If you give this recipe a try, be sure to leave a comment with a star rating at the bottom of this post! You have no idea how much that helps support us.
How to Make Red Velvet Crinkle Cookies

Best Red Food Coloring for Red Velvet:
I personally love Americolor Super Red Gel Paste coloring. It provides a bold color with a small amount. You can order from Amazon or find it at cake supply stores.
You can also use Wilton gel food coloring, just make sure to use the kind in the little pots. NOT the squeeze tube coloring.
Add enough food coloring until the dough is a deep red.
How to Make Thick, Soft & Fudgy Red Velvet Crinkle Cookies:
Number 1: be sure to measure your all-purpose flour & cocoa powder properly. Check out my article on how to measure flour for baking success. Accidentally adding too much is super easy, and will dry out your red velvet cookies and make them crumbly.
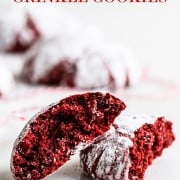
Number 2: don’t overbake your cookies! They should still look slightly ‘wet’ inside the crinkle cracks when you pull them out of the oven. They will finish baking on the hot pan.
Number 3: try out a high-fat cocoa powder! Cocoa is a drying ingredient, meaning it can zap moisture. The less fat and the more starch a cocoa powder has, the drier your final baked good will be. I love to use Penzey’s high fat natural cocoa powder in this recipe. Check out this post on Serious Eats for more cocoa info.
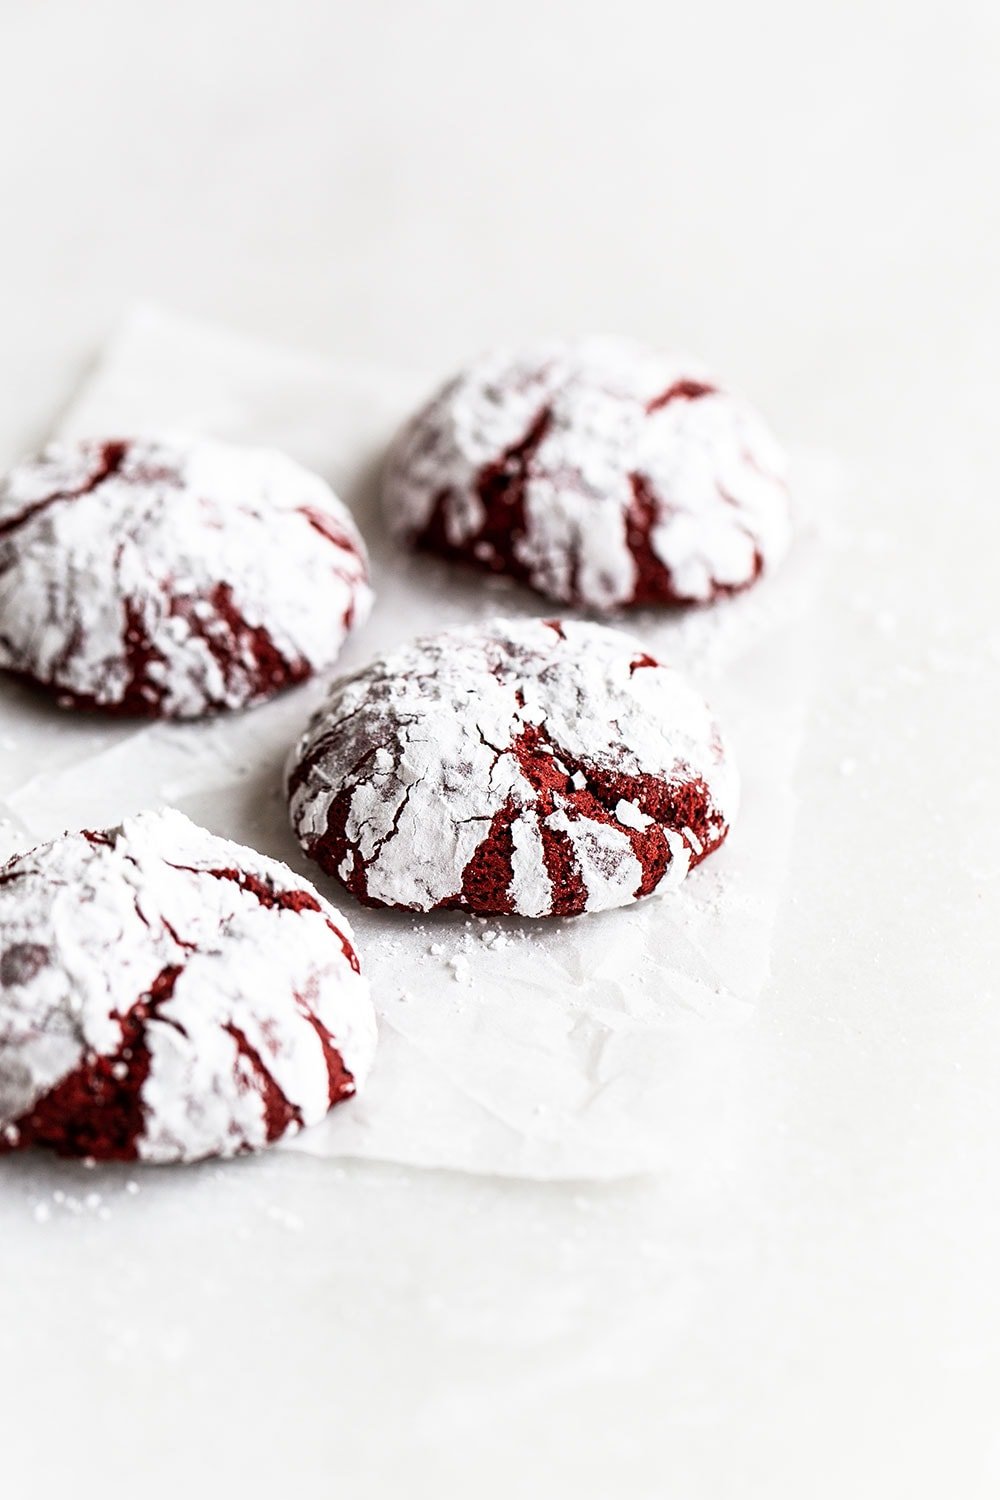
What Makes a Cookie ‘Crinkle?’
To get those distinctive cracks, we use both baking powder and baking soda in this recipe. Before a cookie sets while baking in the oven, the baking soda and powder produce CO2 bubbles that rise to the surface and burst, leaving those little sugary fault lines. If we used only baking soda in the recipe, the cookies would spread out and be thinner. Adding in baking powder helps make nice thick cookies that remain soft.
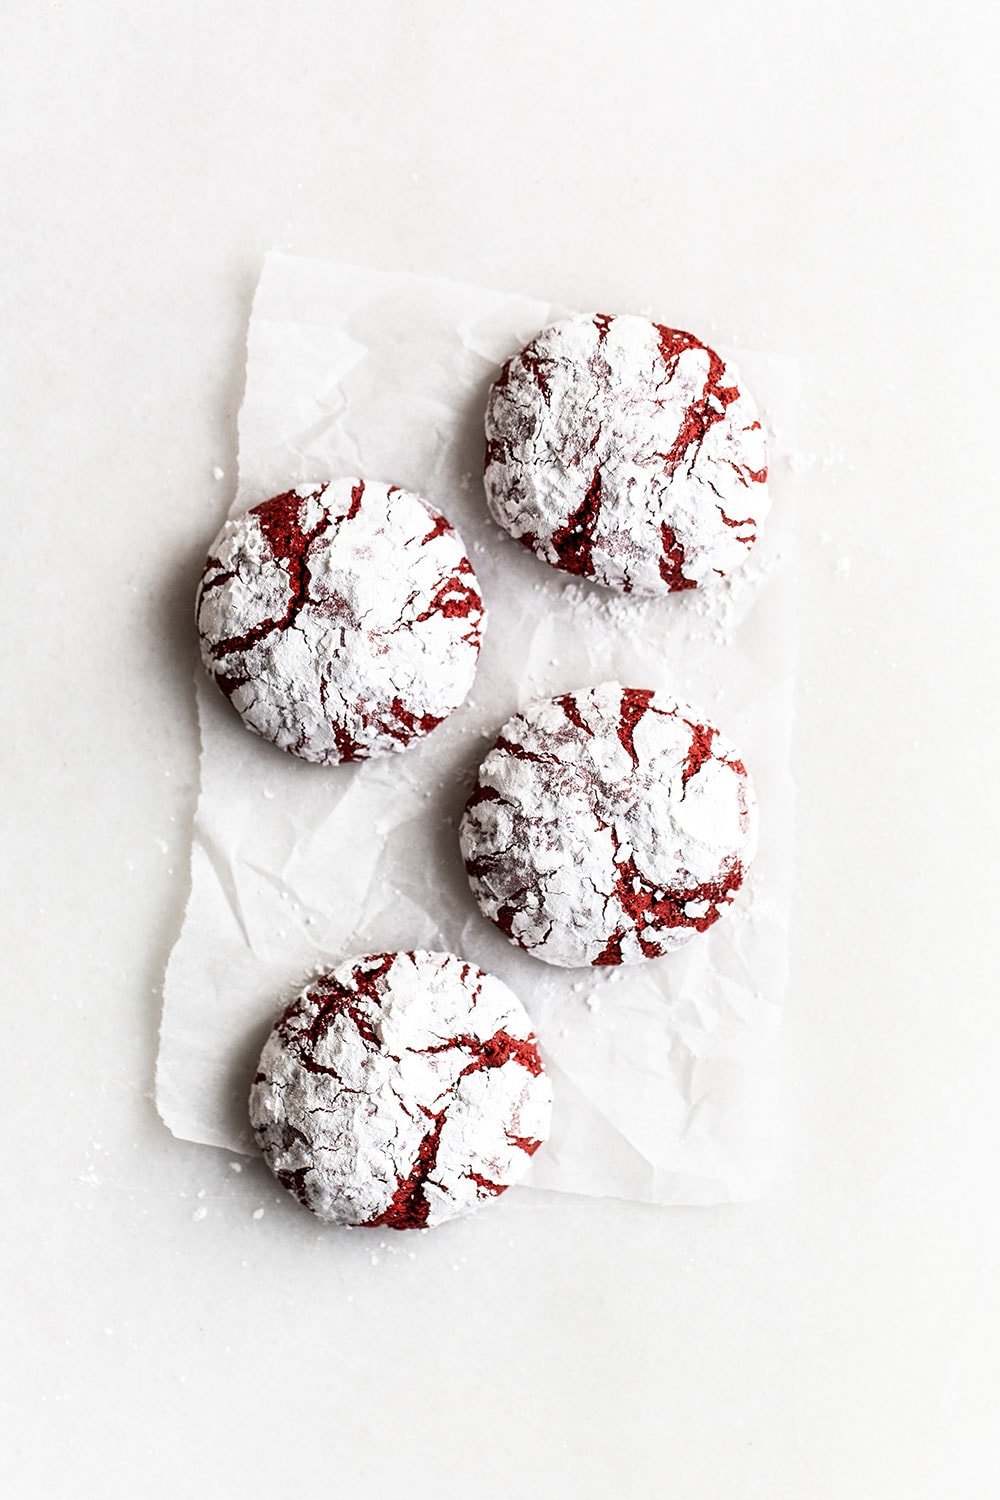
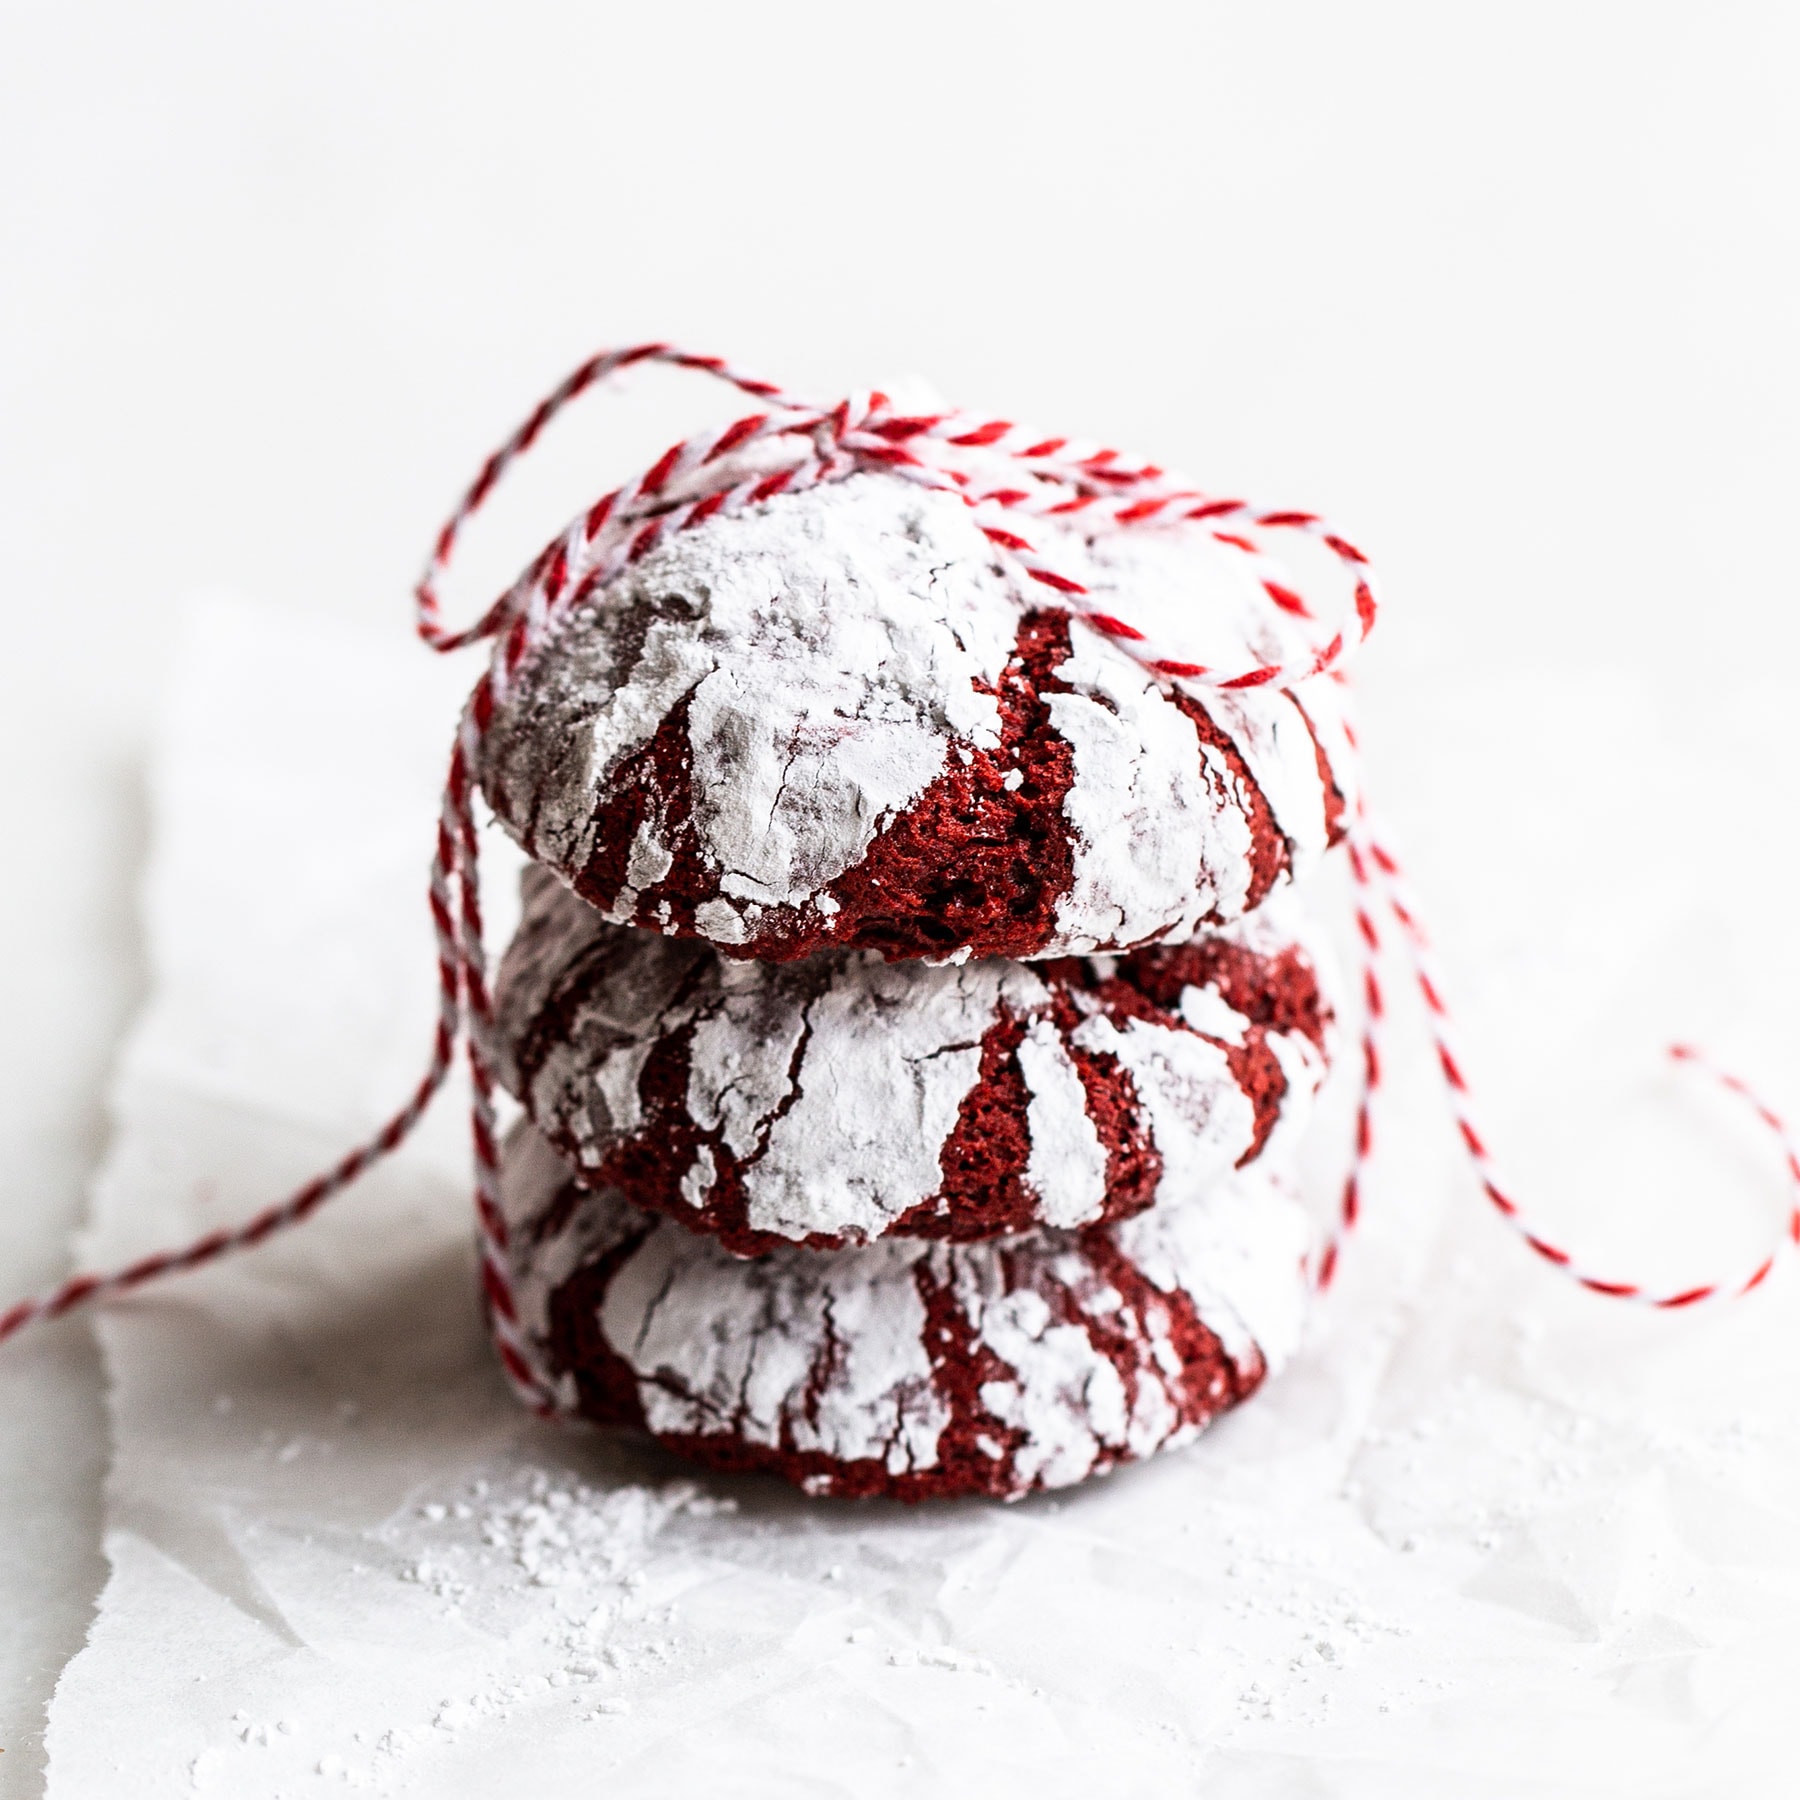
How to Roll Crinkle Cookies in Powdered Sugar:

Don’t be afraid to really get in there with the powdered sugar! In fact, the directions call for rolling each ball of dough in the sugar twice. This helps achieve a nice thick coating of sugar that doesn’t dissolve into the cookie while baking.
For best results, avoid organic powdered sugar which will dissolve more. And if you can find it, 5x powdered sugar (as opposed to more finely ground 10x) will also make for a prettier snowy sugar coating.
How to Store Red Velvet Crinkles:
The cookies can be stored in an airtight container at room temperature for up to 3 days.
How to Freeze Red Velvet Crinkle Cookies:
You can also freeze the dough before rolling in the powdered sugar. Follow these instructions but allow the balls of dough to defrost before rolling in sugar and baking as the recipe instructs.
More Valentine’s Day Recipes:
More Amazing Cookie Recipes:
-
2
cups
(254 grams) all-purpose flour,
measured correctly
-
1/4
cup
(22 grams) unsweetened cocoa powder
-
1
teaspoon
baking powder
-
1/4
teaspoon
baking soda
-
1/4
teaspoon
fine sea salt
-
4
tablespoons
(57 grams) unsalted butter
-
1/2
cup
(100 grams) light brown sugar
-
1/2
cup
(100 grams) granulated sugar
-
2
large eggs,
at room temperature
-
1
tablespoon
milk
-
1
teaspoon
vanilla extract
-
1
teaspoon
red gel food coloring
-
1/2
cup
(63 grams) powdered sugar,
for coating
-
In a medium bowl, sift together the flour, cocoa, baking powder, baking soda, and salt.
-
Heat the butter on the stovetop or in the microwave until melted. Add the brown sugar and white sugar to the hot butter and use a rubber spatula to stir until combined. Allow to cool to just warm before stirring in the eggs, one at a time. Stir in the milk, vanilla, and food coloring. Slowly mix in the flour mixture. Cover in plastic and refrigerate to chill until firm enough to scoop without sticking, about 30 minutes or up to 1 day.
-
Preheat the oven to 350°F. Line two baking sheets with parchment paper.
-
Using a spring-loaded cookie scoop, divide the dough into 1 1/2-tablespoon sized balls and drop onto prepared baking sheets. Pour powdered sugar into a medium bowl and roll the cookie dough balls in sugar two times, letting them sit in sugar between coatings.
-
Place on prepared baking sheets, spacing 2 inches apart. Bake until cookies have spread and coating is cracked, 12 to 14 minutes. Cool for 5 minutes before removing to wire racks to cool completely. Cookies can be stored in an airtight container at room temperature for up to 3 days.
Photos by Ashley McLaughlin.
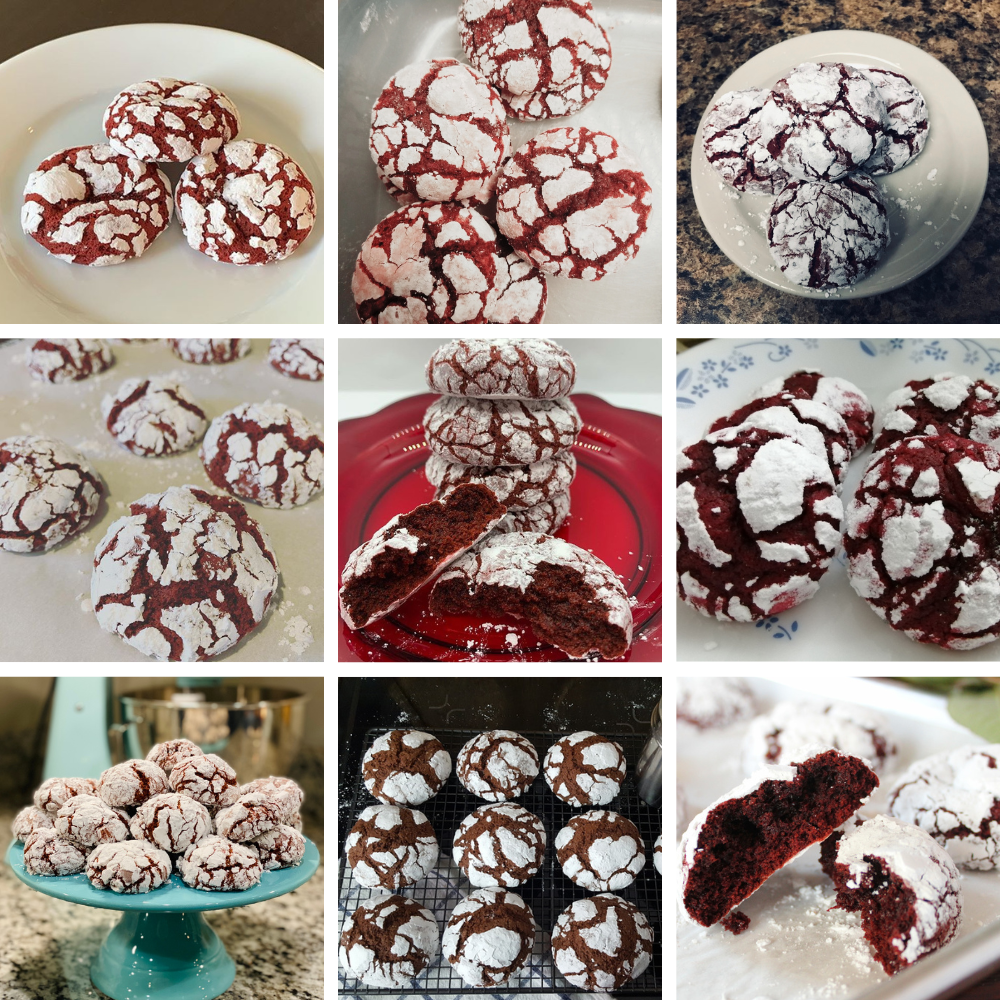
February 2020 Baking Challenge!
This recipe was the selection for February’s baking challenge! Learn more about my monthly baking challenges here. Check out everyone’s beautiful cookies below:


I made this other night! The flavor is so good! I was curious though what I could do to make them less dry and more moist? The cookies are so soft, and aren’t really crumbly but they are dry.
Hi Loren! Check out the pink tip box above the recipe for more details, it sounds like possibly too much flour or cocoa powder was added to your cookies. Glad you like the flavor of these cookies!
I made these yesterday, following the recipe exactly and they taste great! Only problem, they aren’t red. Any idea why?
Hi Donna! It could be due to the type of cocoa you used or the type of food coloring and how much was used. Not all food colorings have the same strength, so it’s possible you may need to add more than what is stated in the recipe. Add enough food coloring until your dough is a deep red. Tessa includes a link to her favorite coloring in the pink box above the recipe 🙂 If you used Dutch-process cocoa powder, which would result in browner colored cookies, try using natural cocoa powder next time to see if that helps.
Loving these cookies! Easy to make, super tasty and they look so beautiful! The smell you have in your house when you bake them is incredible❤️
Thank you for the recipe!
Mine did not have the red colour, were more brown-ish. Perhaps the food coloring that I had was not strong enough to cover the cocoa color. But nevertheless, they still looked pretty.
Hi Cristina! So happy you loved them! The coloring is very possible due to your food coloring. Feel free to add more next time prior to baking until your dough is a deep red. Tessa links her favorite gel coloring in the pink tip box above the recipe if you’re interested 🙂
Hi Emily, thanks for the response! I’ll try to add more food coloring next time. Unfortunately I cannot find the one Tessa suggests, as I’m living in Netherlands. Perhaps I should also try a cocoa that’s not very dark (this time I used Dutch cocoa, quite dark). What do you think?
That could possibly work! Dutch-process can definitely affect the coloring, try using a natural unsweetened cocoa powder next time and see if that helps!
Hi Tessa,
My cookies looks pretty but it has the texture and taste of cake.
Not sure why that might be?
I left it in the fridge for about 30 min. It was a sticky texture so couldn’t exactly scoop out perfect balls.
Hi Ruzi! Do you use a digital scale to measure your ingredients? It sounds like you may be adding too much flour!
Came out as actual large cookies and not balls 🙁 saw someone else had this problem and butter was too warm? But it needs to be warm to melt in the directions? A little disappointed…but I haven’t tried them yet but just by appearances alone it’s not what I expected
I’m sorry you experienced issues, Jenny! While the butter is warm, you do want to make sure that it cools down after heating it on the stovetop. It’s possible your butter and sugar mixture was just a little too warm prior to the eggs being added. Besides refrigerating the dough for at least 30 minutes, depending on the warmth of your kitchen/climate, feel free to also place your rolled out cookies in the fridge or freezer on the sheet pan while your oven preheats to help with spreading as well. How did they taste?
Can I make this with brown butter?Does it tastes good?
We haven’t tried that, so I can’t say for sure! Let us know how it goes if you give it a try 🙂
Easy, and delicious! Not too sweet for my taste buds and instructions were easy to follow as well. Great tip on leaving the dough 30 minutes or more.. because I left mine for 5 hours and once I came back the dough was perfect and ready to use! Thank you very much enjoyed this recipe very much ^.^
Wonderful to hear! I’m so glad you enjoyed your cookies 🙂
made it without baking powder and came out okay! replaced baking powder with 1/4 tsp baking soda
hi! i am very excited to be trying this recipe out tomorrow for Valentine’s Day! i was wondering if i need to increase the amount of butter used because i only have hershey’s natural cocoa. what do you recommend?
I was really excited as I love red velvet and I love crinkle cookies but I was not impressed. They tasted institutional and without much flavor. I followed the recipe exactly and with the designated cooking time they were dry. I tried to underbake them and that helped, but not enough. Thankfully my daughter liked them so they didn’t go to waste, but for me they weren’t worth the calories. I’ve loved other cookies from the site.
Hi, if I am using an stand mixer, what hook should I use?
I would use the paddle attachment!
Made these today. They are so pretty and tasty too! Two questions: (1) my cookies came out just a little dry (baked for 12 min) – not moist and fudgy as others have commented. Any suggestions on how to make more moist? I did think the batter looked just a little on the dry side, but given this was my first attempt, didn’t want to mess with it. If this happens again, what can I add to batter to make more moist? (2) I added the red food colouring as directed. The batter was red and when the cookies came out of the oven they were red, but once they cooled, they are brown. Still lovely looking but red colouring would be more festive. I definitely want to give these another try, so would appreciate any feedback on my questions. Thanks! 🙂
Hi Kris, so glad you tried this recipe out! Did you read through the baking tips in the pink box above the recipe? Dry cookies for this recipe would likely be caused due to too much flour and/or cocoa, so I’m wondering if you used a digital scale to measure your ingredients. And what kind of food coloring did you use?
hi, i really admire your recepies and your work.. but my question its i want to know what im doing wrong that my cookies coming flat after baked?!! 🙁 ill really appreciate your answer thank you!!!
Hi Monica, flat cookies are usually due to too warm of butter being used. I go over this in my 3 Biggest Reasons Your Cookies Flop article! I hope that helps.
Texture is great, so light and chewy! I used Guittard red dutch process (Cocoa Rouge) cocoa powder and the flavor is wonderful and rich.
So happy you loved these cookies!
I already used the wilton gel food color but i cannot meet the red color of the crinkles- it turns brown. What maybe is the problem here?
Did you use the Wilton squeeze tube coloring? I recommend using Americolor Super Red Gel Paste coloring – more info on this is in the pink box above!
Hi Tessa, can I make these with white chocolate chips and omit the powdered sugar
Soft and chewy! I tried this with some cream cheese filling and it was so good
This looked exactly as in the pictures and tasted fabulous. I used finely granulated sugar but it made no difference, it was even more crispy.
It’s so good. I also added cream cheese inside the crinkle. ❤️
Is it okay to use coconut oil or shortening in place of butter in this recipe?
I did put vegtable oil though. 🙂
I love this recipe. The only problem I have is that instead of turning red, it turns brown just like a normal chocolate crinkle. But everything else is perfect!
I just made this, and its a little dry. I think it’s because I baked it 2 more minutes because they look ‘fat’ LOL they are bigger than what you have in the picture, so I went ahead and baked it more. The recipe says 18 cookies but I ended up with 22 cookies. Anyway, it taste really good. I’ll definitely make it again next time. Thank you for the recipe. ☺❤
Not impressed. Would not make again. Serious lack of flavor. They were cake like and dry.
5 star! my daughters love it.not so sweet just right for hot coffee or choco! thank you Tessa!
God bless you.I will surely try your other recipes.
Very quick and easy recipe. I must for all red velvet lovers in a cookie form!
Quick and easy recipe for any red velvet lovers!